Appearance
Getting Started with Rallly
Rallly helps you coordinate group meetings by creating scheduling polls. Instead of sending back-and-forth emails trying to find a time that works for everyone, you create a poll with date options and share it with your group.
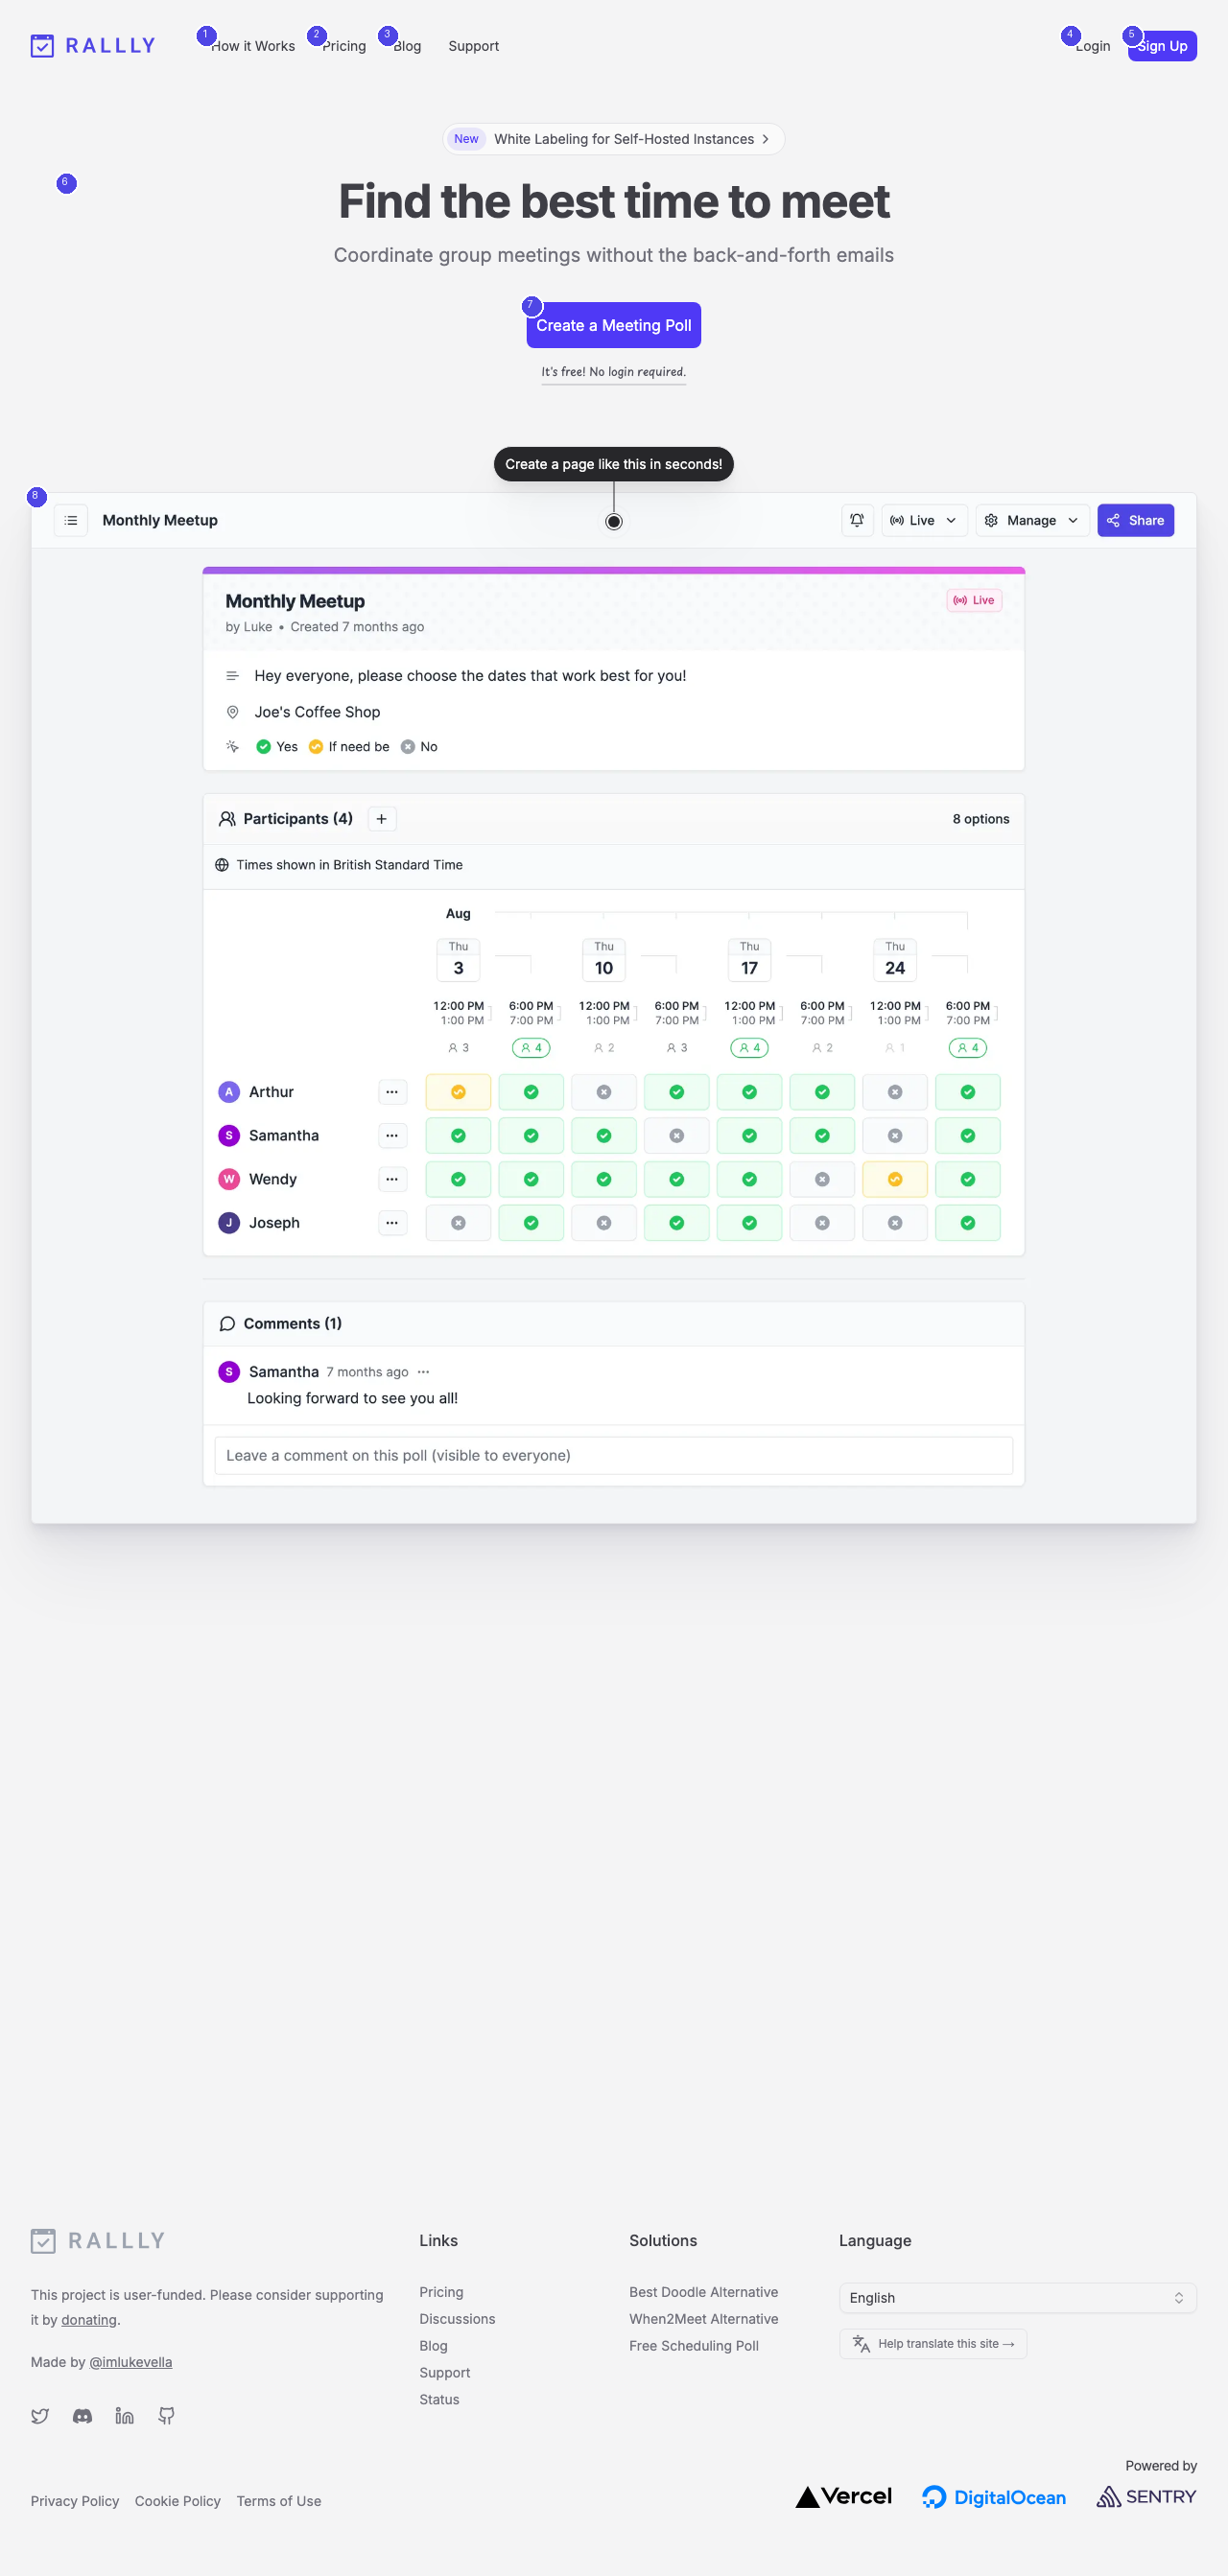
Creating Your First Poll
To start scheduling a meeting, click the Create a Meeting Poll button [7] on the homepage. This takes you to the poll creation form where you can set up your event details and date options.
You do not need an account to create a basic poll. However, creating an account unlocks additional features like managing your polls from a dashboard, setting up notifications, and accessing Pro features.
How Polling Works
- Create — Set up your poll with a title, optional location, and date/time options
- Share — Send the poll link to your participants via email or messaging
- Vote — Participants select the dates that work for them (Yes, No, or If Need Be)
- Finalize — Review the results and pick the date with the most availability
Navigation
The top navigation bar provides access to key sections:
- How it Works [1] — Learn about Rallly's workflow
- Pricing [2] — Compare Hobby and Pro plans
- Blog [3] — Read about new features and updates
- Login [4] — Access your account
- Sign Up [5] — Create a new account
Account vs. Guest Access
Rallly supports both registered users and guests:
- Guests can create polls and vote on existing polls without signing up
- Registered users get a dashboard to manage all their polls, email notifications when participants vote, and the ability to finalize meetings
To create an account, click Sign Up [5] in the navigation bar.